Well after 3 years of working on it, my version of Gary's "$1000 solar water heater" should get its first bit of sun today, though probably just a few small bits! I actually finished it on Monday, but its been all rain since, so I'm quite excited to see how it performs today (only supposed to be a partly sunny day today with some rain on and off, but some sun is better than none!)
Here are some notes on this project:
- Took 3 years to finish. Built the 250 gallon box tank in the basement in 2009. Built the 80 sq.ft serpentine copper collector in 2010 and mounted it to the south side of my house. This year, I ran plumbing, dressed up the outside to look nice, designed and built my own controller board and designed my own programming for an Arduino microcontroller to run things.
- Approximate cost was somewhere between $2200 and $2500. This is much more than the $1000 that Gary's design calls for, but keep in mind that mine is also about twice as big and I made a few mistakes along the way that cost some extra money
- I added a lot of my own personal touches to Gary's design. I plan on publishing full documentation of my build including schematics and programming for the controller that I designed (when I get time to put it all together)
- The controller monitors 5 temperatures: Ambient, Panel, Tank, Tank Inlet, and Pump Outlet. It cost roughly $75 to build, including the temperature sensors (which cost $2 each to make!). I will be adding Ethernet capability for control and logging in the near future. The controller is fully configurable through a menu which lets you adjust the following:
- Jog the pump
- Set minimum panel temperature for recirculation (I have it set at 125)
- Set minimum temperature differential of the panel over the tank (I have it set at 20)
- Set the maximum tank temperature (i have it set at 160)
- Set a deadband timer. (I have it set at 90 seconds). The way the controller works, is it will start recirculation IF A) The tank isn't over its high setpoint AND B) If the panel is above minimum temperature AND C) if the panel is X degrees warmer than the tank as defined by the setpoint. However, for shutting off the pump, I directly compare the tank inlet temperature to the pump outlet temperature. Whenever the water coming in falls below or equal to the water going out, it shuts the pump off. This is why the deadband timer is needed, so it gives the system time to get water up to the panel and coming back into the box. After the deadband timer expires, only then will the controller start checking for conditions to shut the pump down.
- Calibrate each of the 5 temperature sensors
- - I set up a webcam pointing at the controller if anyone wants to watch temperature data on the controller. http://linuxmce.homelinux.com:8221 use the "Guest Visit" option (I have it set up so I don't have to constantly run down to the basement today, but feel free to take a peek (though I'm not sure what kind of frame rate you'll get or how many simultaneous users it will handle)
Now for a few pictures!
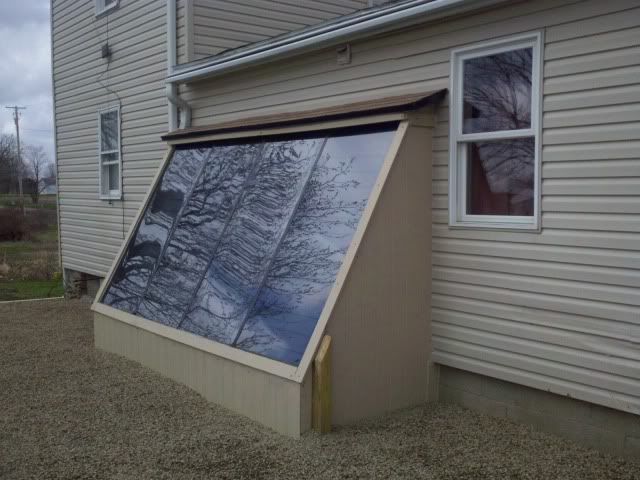
I took this right after finishing the process of making the panel a little more appealing to look at. It has a small shingled roof that matches the pitch of the house's roofline. Also, this area used to be a bit over-grown, so I got some landscaping timbers, boxed it all in and filled it with pea-gravel. Now its an attractive area and we have some patio furniture set up, making it a nice outdoor oasis in the summer!
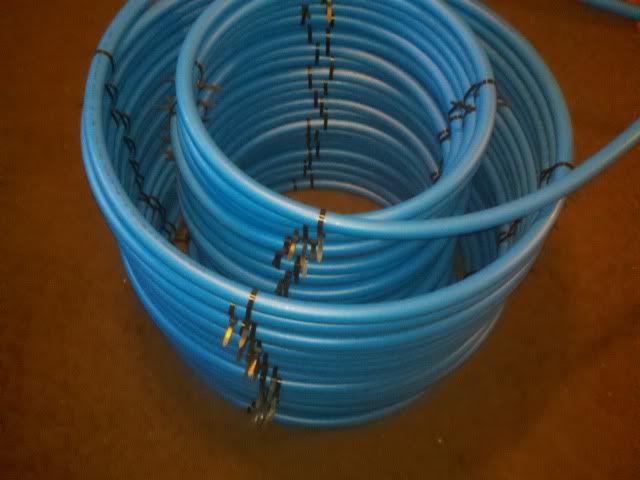
This is the 300' coil of 1" PEX. It took a lot of time to form it into 2 neat concentric coils, but my efforts paid off and it came out beautiful!
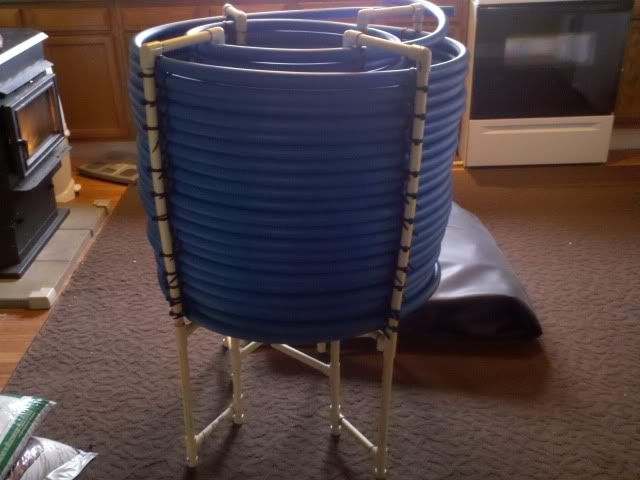
I wanted to coil to sit towards the top of my tank. Since the tank is pretty tall, I made a small tower of CPVC to hold the coil in the right spot in the tank
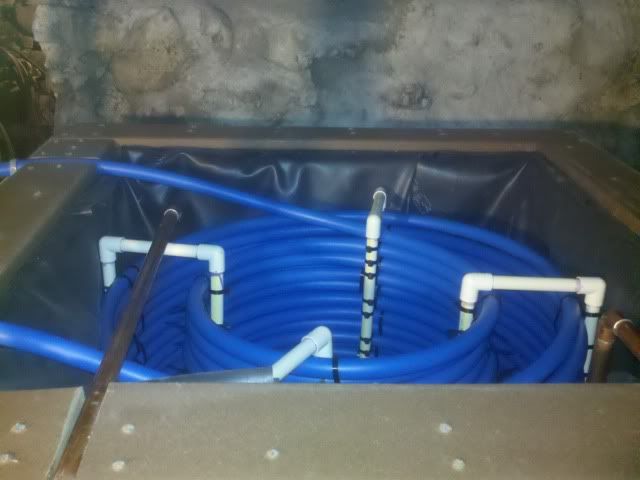
And here is the coil sitting in the tank.. If I could do something different, I would have made both coils just a bit smaller in diameter, but I'm pretty happy with the fit!
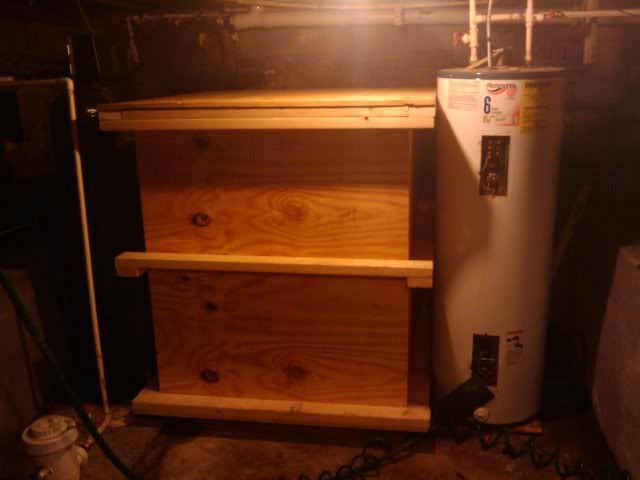
Here is a picture of the tank right after I built it 3 years ago, sitting right next to my hot water heater. The tank looks a tiny bit taller than it really is because it sits on treated 4x4 lumber, keeping it off of my damp basement floor. Also, note the center perimeter reinforcement around the center, which I feel is necessary in taller tank designs.
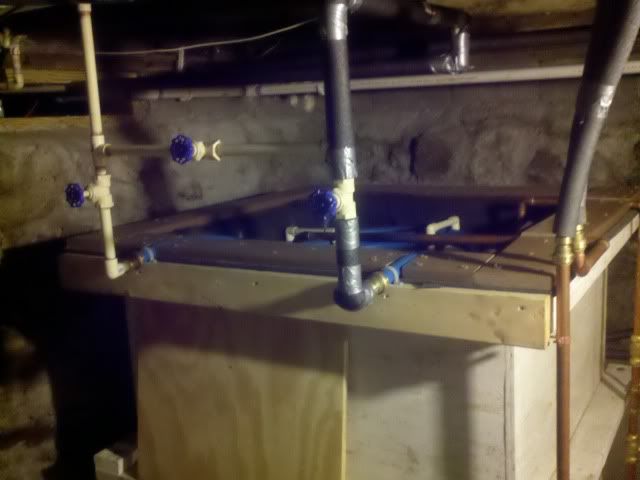
Here is an in progress shot of plumbing in the tank
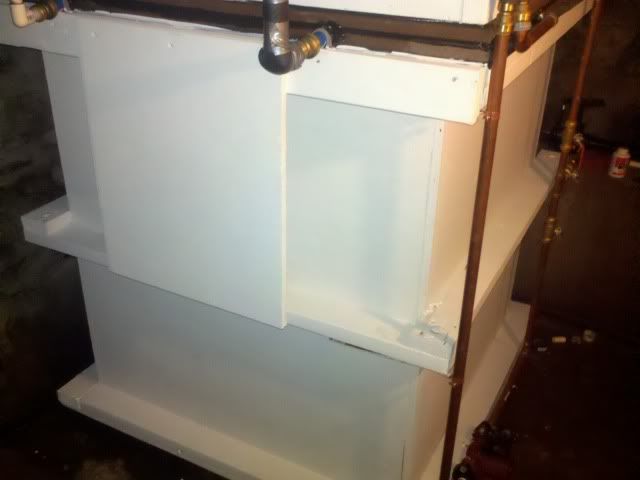
Here is the tank in position and painted
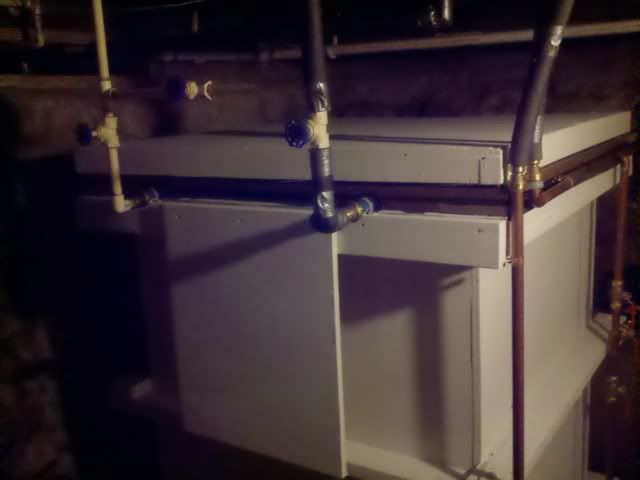
...and a different view
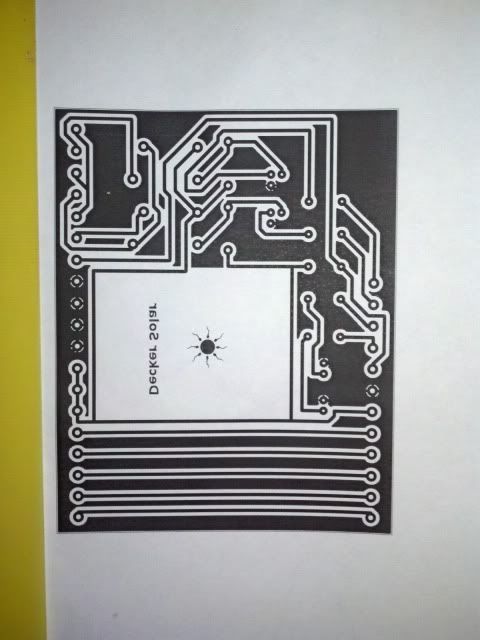
Here is the circuit board that I designed in Eagle (never done it before, it was both fun and frustrating!). It took me quite a while to get everything laid out so it would fit well on a single-sided circuit board!
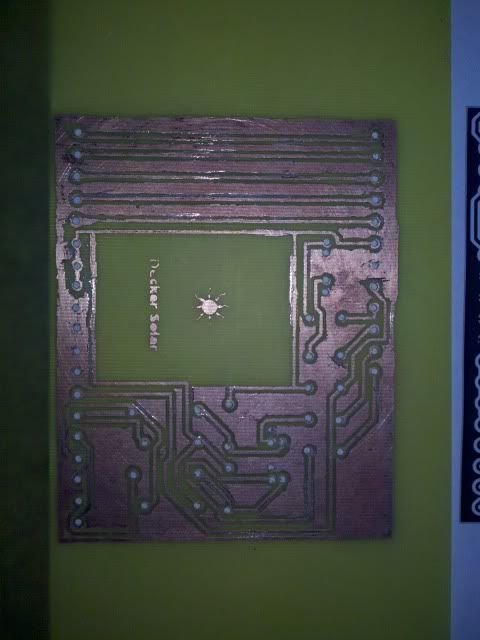
Got a working board made first try, though its a bit ugly thanks to the crudeness of the laser printer toner mask transfer method!
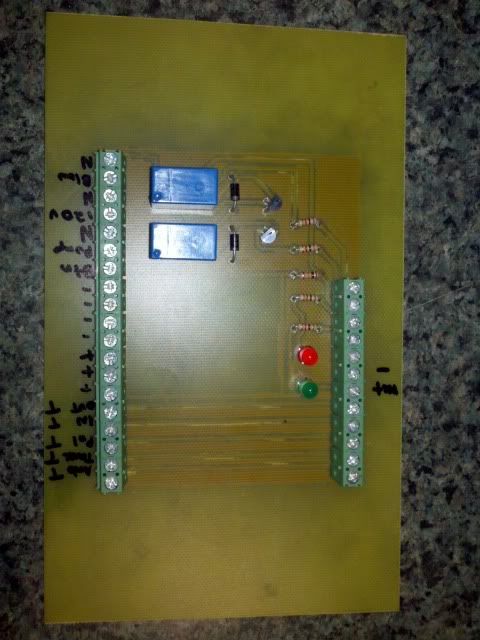
And here it is with all components installed and soldered!
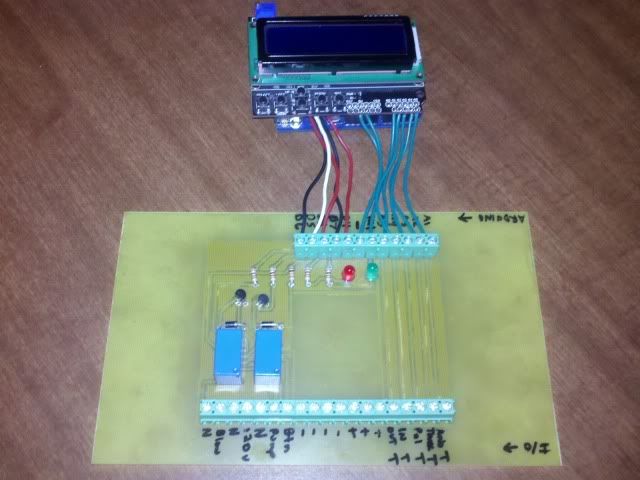
And finally, connected to the arduino board I wrote the programming for (I have been programming for about 20 years, so this part of the task was very easy for me!)
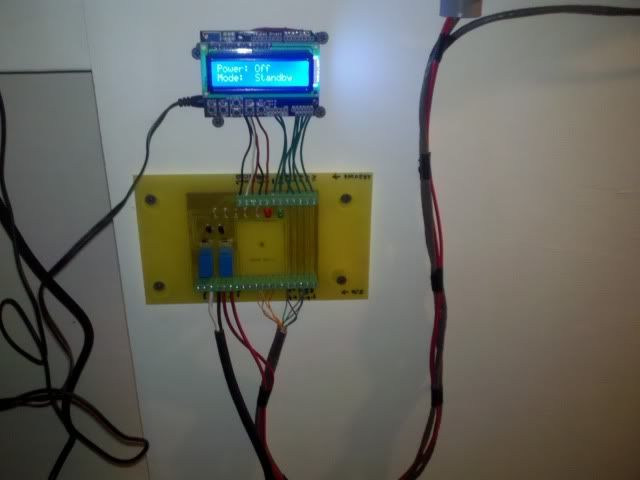
And lastly, on Monday, I connected the controller to the board, tested it by faking temperature signals, test ran the pump, etc. Its sitting in standby mode right now, just waiting for some sun. I really hope we get a couple of hours today! (its been raining for 2 weeks straight here

)
As a side note, in the last day I also fully insulated all pipes into and out of the system, including all hot water pipes in my home. I spent to much time and effort into making this to generate hot water to let it waste off on its way to the shower or sink!
EDIT:
I just remembered that when I started this project in 2009, I posted here about it, and I found the post:
http://fieldlines.com/board/index.php/topic,130113.0.htmlit was fun for me to read back on my initial thoughts and design goals. Specifically, I wanted to use seam tape to build a perfect liner for the tank. That failed miserably. I learned the hard way that the simplicity of folding the liner into the tank ads so much reliability! Because of this mistake, I had to buy another liner to start from scratch. I lost probably over $200 trying to build a seamed liner, between the EPDM liner, seam tape, etc... In the end I learned something valuable - there is a reason for proven, trusted designs that have worked well for countless others!