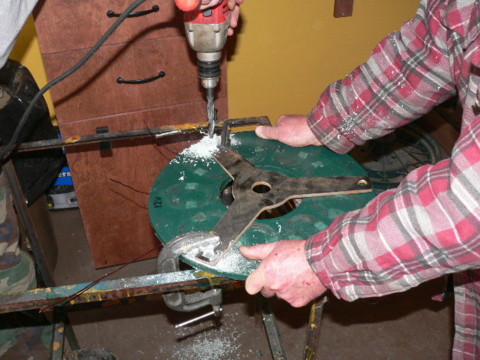
We had a pretty productive day. Rich came up again to work on his 7' machine. Again, this will be a single rotor machine using big round (2" diameter x 1/2" thick) magnets. It's for 12 V, we wound the stator with 50 windings of #13 wire. It is fairly resistive, I doubt we'll see much over 500 watts from it, but it should do OK in low winds and we'll set it up to furl early. With a single rotor were not making best use of magnets here, but the idea is to keep it simple - avoid the complexities of two rotors, jacking screws etc. Pictured above Rich is drilling out the stators mounting holes.
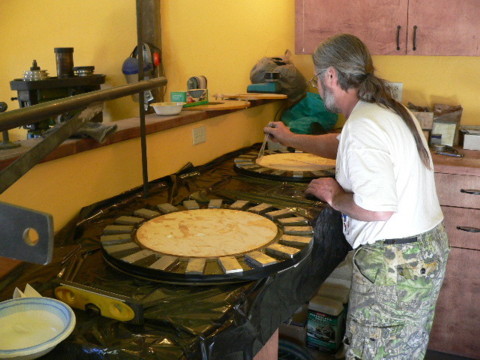
We cut out plywood disks for the centers of my big magnet rotors. The 'islands' are 14.75" in diameter. We caulked the bottoms of them and stuck them down, and dammed up the outside with tape. We used West system epoxy and mixed in chopped fiberglass strands in hopes that it would stay together better than the polyester did on my 17' machine. Speaking of my 17' machine (which had problems last week).. we repaired it last thursday. We repoured the magnet rotors with west system epoxy/fiberglass strands. We also opened the airgap slightly. The bearing was still fine - we adjusted it and raised it last Thursday. It works fine now - actually somewhat better in high winds (it makes more power and runs slightly faster). Hopefully it will last a while this time!
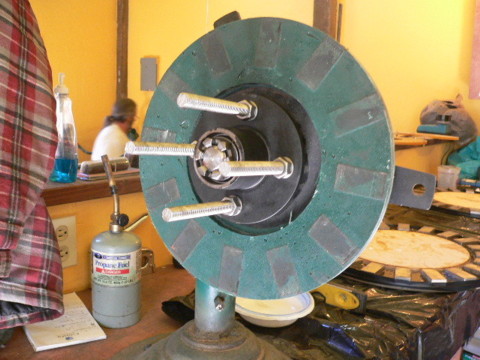
We put Rich's 7' machine together several times in different configurations and tested some things. Again - his stator is wound with 9 coils, each has 50 windings of #13 wire. The first test was with a single magnet rotor which has 12 of the 1" x 2" x 1/2" blocks, grade 35. We hit 12V DC at 284 rpm in that configuration.
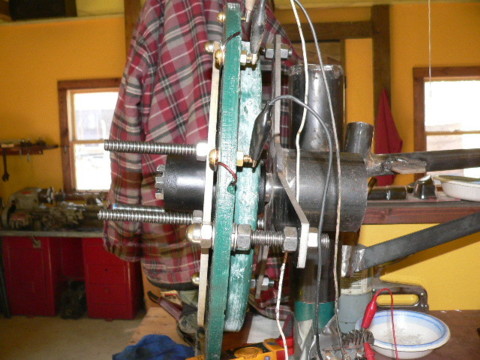
The next test used the same magnet rotor, but we ran a blank steel disk on the other side of the stator. This got us 12VDC at 207 rpm. This would be reasonable for a 7' blade set.
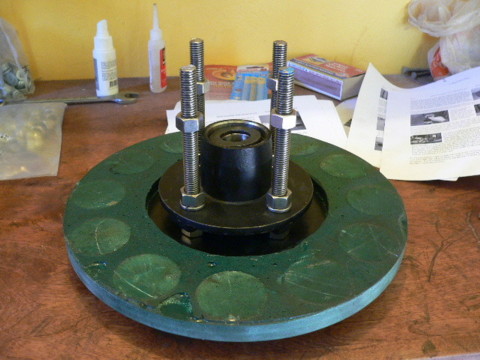
The next test (and final configuration for Rich's machine) has a single magnet rotor (no blank rotor) using 12 of the 2" dia x 1/2" thick magnets. This got us 12VDC @ 196 rpm. Interesting... there was some discussion last week about how these coils would be not be ideal with these magnets, and how we had these magnets too close to each other on these disks. Using the same stator, and 2" x 1" blocks (1 cubic inch of magnetic material) with 1 rotor only, we had 12VDC @ 284 rpm. Using the 2" disks (about 1.5 cubic inches of magnetic material), crowded as they are, we get 12VDC at 196 rpm. Interesting how our magnets are 50% more massive and were getting almost 50% lower cutin speed here. At 196 rpm were about dead on for a 7' blade assuming it cuts in at 6mph with a TSR of 8 (these tend to cutin at a higher than designed TSR because the blade is under no load at cutin - after cutin the TSR will fall some). So - while I wouldn't expect lots of power from this in high winds, I think it will do nicely in lower winds and we'll furl early so that we dont burnup hopefully. Unlike DanF's single rotor machine, this one will have the magnet rotor on the back so that wind can help cool the stator. It also makes certain we'll not have any magnetic attraction to the stator bracket.
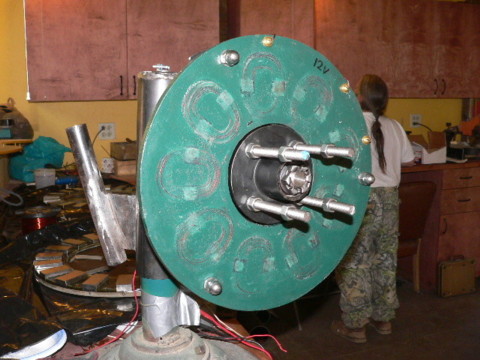
Pictured above is Rich's alternator finished (except for paint).
Shop Safety...

Always offer ear protection to guests when grinding in the shop.
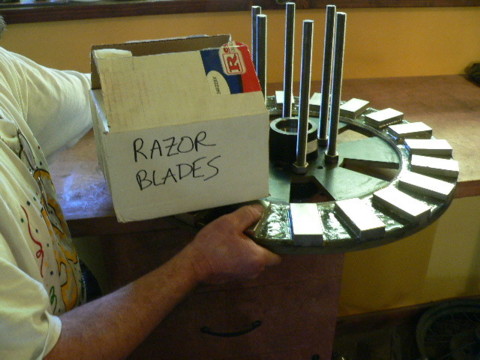
This fellow accidently was moving his magnet rotor too near a box of razor blades! Keep all ferrous items clear of magnet rotors...
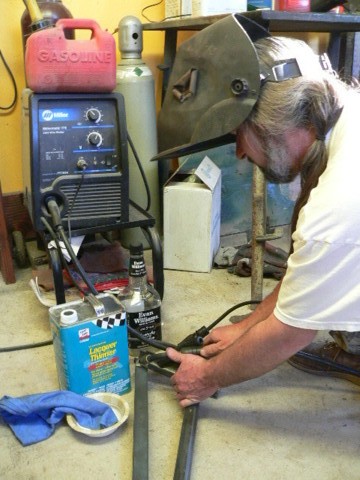
This fellow has forgotten about the can of gasoline and the open container of laquer thinner and he's preparing to weld...
Before grinding or welding, be sure the area is free from flamable items.
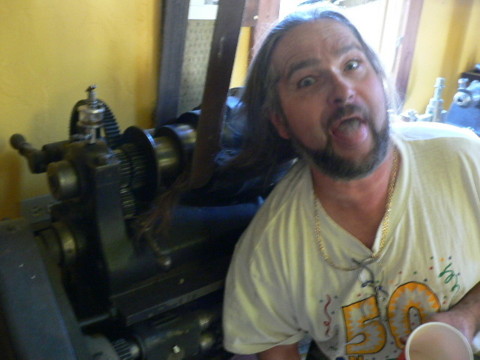
This fellow got his long hair stuck in the flat belt...
Always keep hair tied back and be careful around belts.
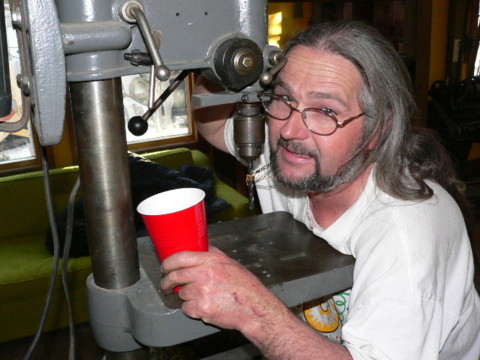
Don't wear necklaces while operating the drill press.
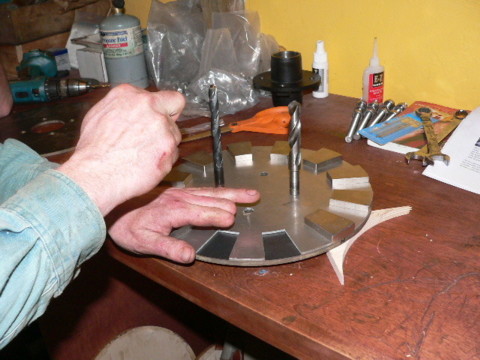
Scott started his magnet rotors for the 'wincharger' project. Again - this machine will sport an antique 11' 2 bladed wincharger blade and it's airbrake. We used wedge shaped magnets for this one. These magnets are such that 24 fit together to form a ring 12" OD and 8" ID, they are pretty much perfect for 12" rotors.
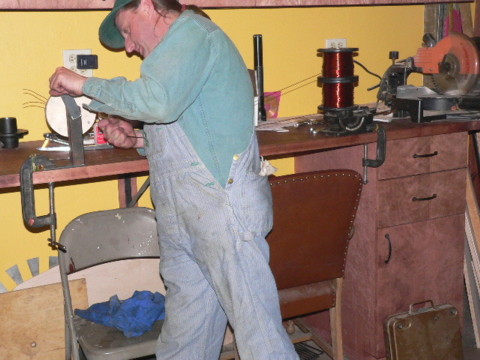
He also got all his coils done. We did this one with two strands of #14 in hand, and 36 windings per coils.
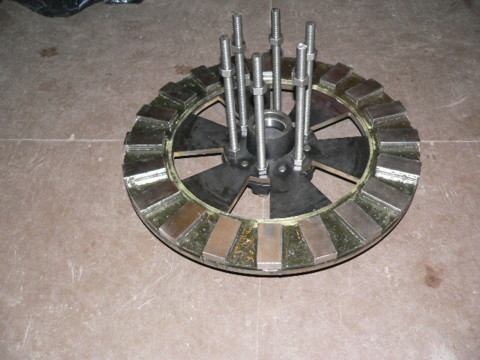
Here's one of my magnet rotors being mounted to the hub. We're using 5/8" threaded rod for this one. The holes in the hub (after we knocked the studs out) were just under 5/8", so we had to drill that out.
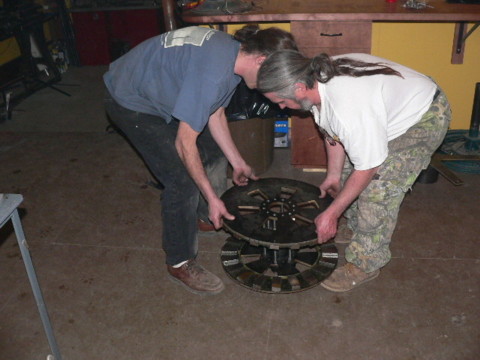
George and I are lowering the top rotor on. We have nuts on the studs so it won't go down far.
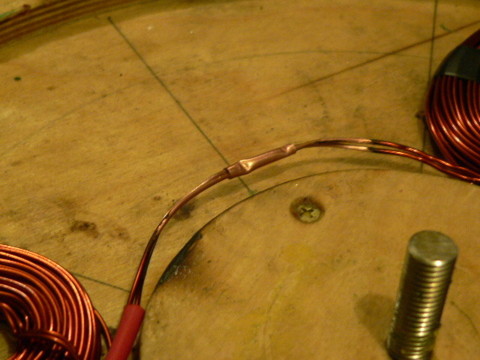
Scott got his coils wired up. We used copper tubing as a 'connector' between the coils so we could crimp and solder it. It's a nice way to connect coils when you have multiple strands. Then we insulate the connection with heat shrink tubing.
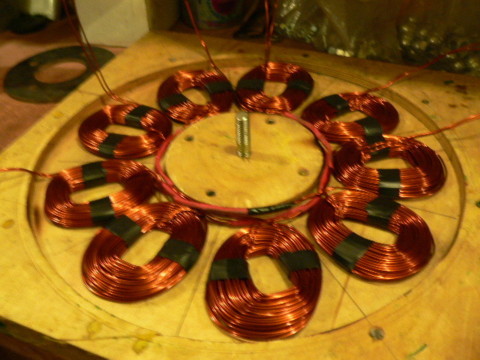
Next Monday we'll be ready to cast Scotts stator and magnet rotors - short of paint, and drilling out the old blade and airbrake - his will be finished.
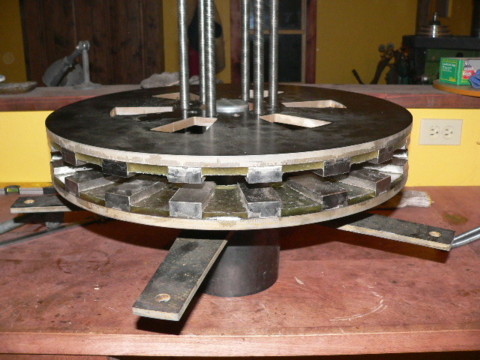
We got the airgap on mine set about perfectly, so hopefully later this week we can design the coil shape and run a test coil in there. The airgap is set to .85" and the stator will be .625" thick.