Click Here to visit the full webpage I made at otherpower.com about building and raising this machine.
It's been a busy week preparing to raise my new 17' diameter wind turbine. Thanks to lots of help from good freinds and neighbors and perhaps a bit of luck, we got her up yesterday.
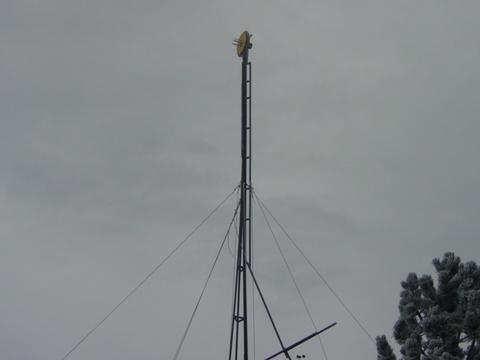
First step was to take my old machine down, and improve the tower. I welded lots more bracing to it and made it much more rigid than it used to be. I had to add about 3' at the top of the tower so the longer blades would clear the guy wires. We also added 3 new guy wires at the top. All this took about 3 days. Last Wednesday Rich came up and helped all day, mostly cutting pipe while I was welding it on. George came up the following day and helped out for several hours. Once we felt it was good, we first raised the tower with nothing on it. I pull this up with my truck, and we had about 10" of snow in the area where my truck had to work. With front tire chains, it was all my truck could do just to get the tower up with nothing on it! (The engine was redlined, all 4 wheels spinning/throwing rocks etc... very exciting) I was concerned because the completed machine weighs about 250 pounds, which hangs on the end of a 62' tower. So.. the following day I went to town and got another set of chains hoping that maybe, with 4 chains I could pull the alternator up. I tried pulling alternator up with all 4 chained on Saturday to no avail, the truck just spun out and started digging into the frozen ground.
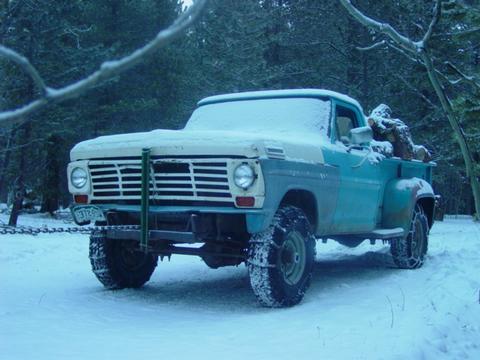
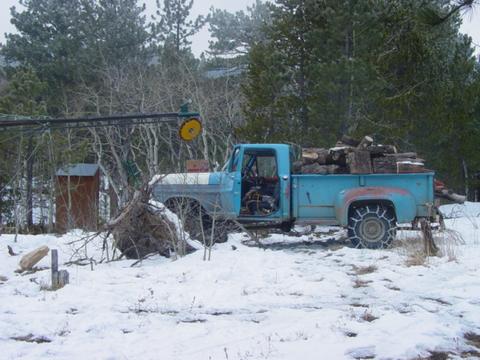
On Sunday I set out to get as much wood as I could fit in the back of my truck for further traction. Pictured above is the 'tractor' that pulls my tower. With a load of wood and 4 chains, the alternator pulled up with no problems at all.
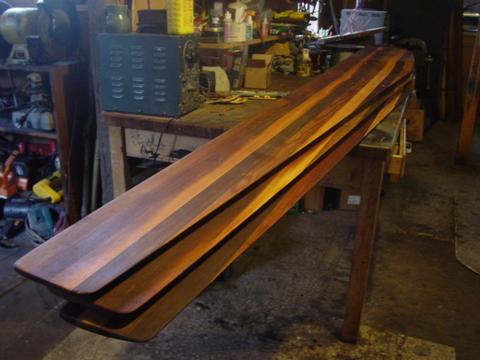
Our freind and neighbor Scott made the blades for me. They're 8.5' long (for a 17' diameter), 6" wide at the tips, and about 14" wide at the root. They're 2" thick. He made them from laminated Cedar 2X4's. He never weighed each blade which surprised me when I asked, because according to my 'primitive' UPS scale, they all weigh about exactly 14' 6oz. I like having Scott make the blades, the cost is very reasonable and they come out really nice. It also saves me a lot of time, and keeps a big mess from happening in my shop. I just gave him some basic measurments and they came out exactly (better) than I planned for. He said he had about 13 hours into making these which included time shopping for lumber and making jigs.
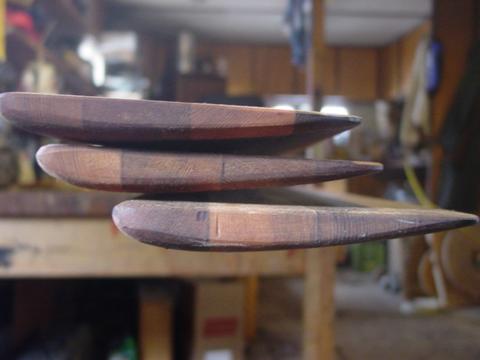
Here's a picture of the tips, you can see the shape of the airfoil.
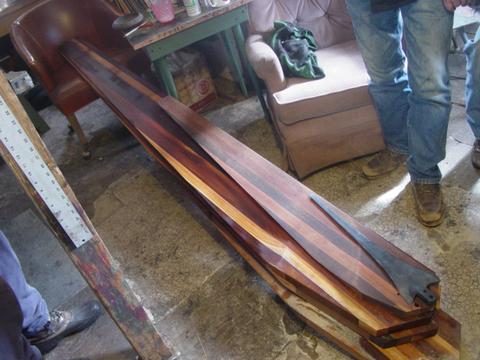
Just for size referance! Here we a South West Windpower Air 403 blade on top of a 10' dia blade on top of my new 17' diameter blade set.
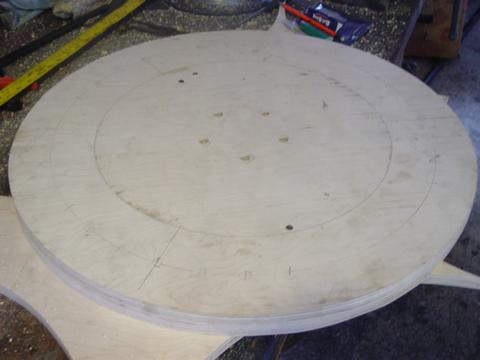
The blades are sandwiched between two plywood hubs. The hubs are 26" in diameter, made from 3/4" thick Baltic Birch plywood. This plywood is super strong and rigid - it's a whole different ball of wax than 'normal' 3/4" ply, it's very strong and seems top hold up to the weather very well.
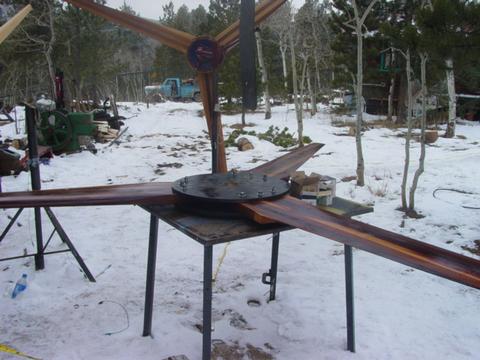
Here we're getting the blades assembled to the hub. There are 3 1/2" bolts in each blade, and 90 wood screws holding it all together. The blades were finished with linseed oil a few days ago, and here we've added another really thick coat. We do this to all the wooden parts on the machine.
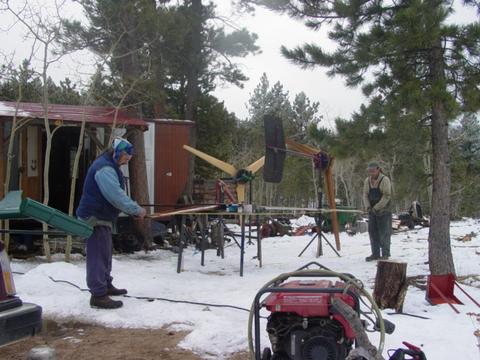
Here we're measuring tip to tip, making sure the blades are evenly spaced. Once we got that perfect we tighten down the hubs and put all the screws in.
The alternator sits almost 8' from the ground, so the hood of my truck makes for a nice place to work while wiring things up and mounting the blades and tail.
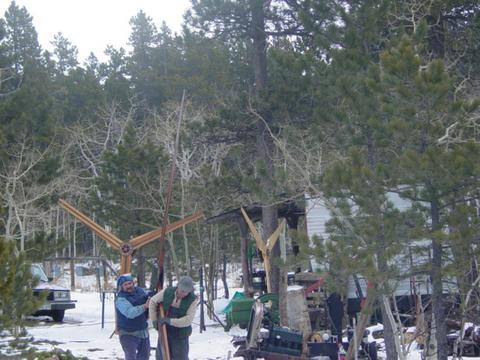
With the hubs and hardware, this rotor weighs about 55 pounds. It's rather big and cumbersome too... pictured above Scott and George are bringing them over so we can bolt them on.
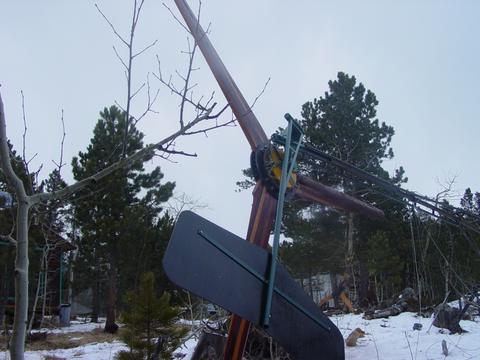
Here's a picture from the back, it's all ready to go! Kind of the scary time - the machine seemed really big and heavy. We added about 100 more pounds to the end of the tower here so I felt a bit worried about how it would raise.
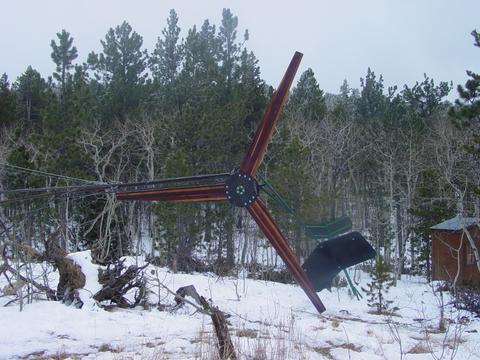
There's a picture from the front. I didn't want it too high up, so we balanced the blades here and had to tip the alternator a few degrees from vertical. But it balanced quickly and easily. We added about 8 oz of lead to the hub in one spot to get it seemingly perfect. Not bad for a machine this size!
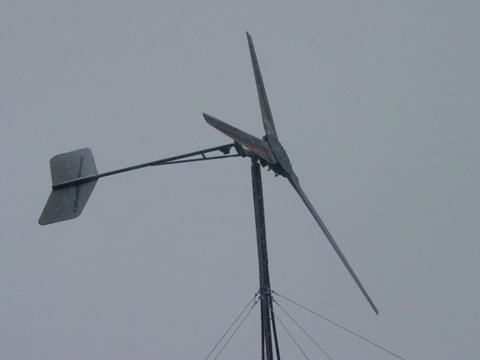
Thats how it looked this morning! We worked till about 9:00 last night on my battery/inverter situation. We've been running at 12 volts all along. I felt this machine was too large for my 12 volts system to handle, so I purchased a couple more L16 batteries and a Trace 4000 watt 48 volt inverter. So last night I made the upgrade to 48 volts! Still some work to do, I have to reconfigure my solar panels. It should be a real improvement in all respects.
We've had almost no wind since we raised it - but it's been spending most of its time turning at about exactly cutin speed (80 rpm). The breeze has come up a bit since then evidently. It still seems perfectly still - no tree branches moving, none of the powdery snow is falling from the trees, but I'm seeing 2-4 amps pretty constantly (100 -200 Watts) which seems impressive to me. I won't be surprised if it has some issues that need sorted out, but so far it's off to a good start. It's very quiet and turns very slowly... I'm dying for some breeze!
I started this project about 3 weeks ago and documented most of it as we moved along. It went quickly - largely due to the vast amount of help from freinds and neighbors.
Click Here to see the first days progress where I mostly cut out the metal parts and started welding on the frame.
Click Here to see the second days work where we pretty much finished welding and started working on the magnet rotors.
On Day 3 We did some coil testing and got all the metal parts finished/painted.
Click Here to see day 4 when we pretty much finished the machine up. It wasn't till then that I decided to replace my old 14' wind turbine with this one, and upgrade my whole house to 48 volts.