
So around May first we cruized back to Custer Wisconsin for a long stay. We were lucky enough to have a house to 'house sit' near Amherst, in the woods, in what used to be an Amish community. The house was powered by a 25 year old, 800 Watt solar array made up of old 25 Watt Arco panels, and a 12' diameter Proven wind turbine. Great place to stay for 3 weeks! Pictured above is George in his bedroom all cozy with curious George.
For the first Week just DanF and I went to take the 4 day course on Wind Site Assessment. Very interesting stuff, they get very scientific about creating very fuzzy numbers, but the goal is to look at a property, find the best site (if there is a decent site at all) and predict how much energy a certain wind turbine might produce at a certain height. It was quite an interesting course and fairly intense... it could've probably lasted 5 or 6 days to cover all the material.
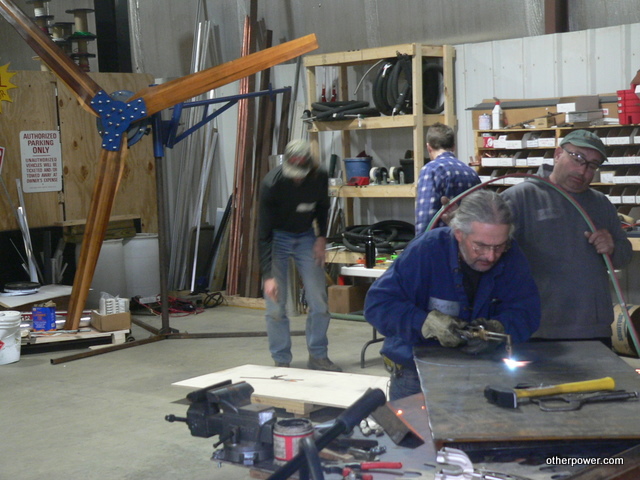
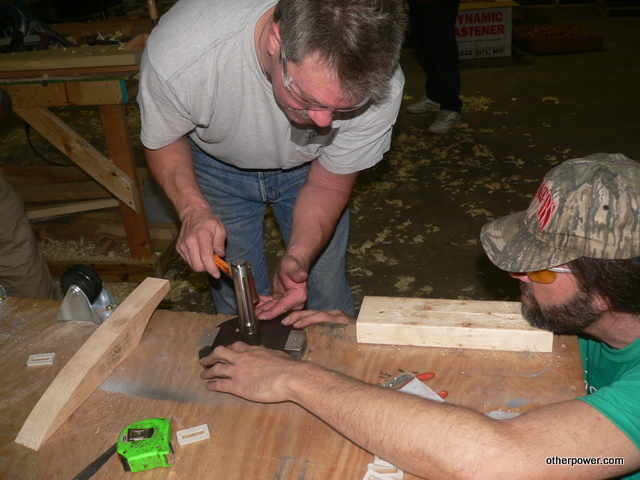
For the 2nd week George and Scotty came out in the vegi oil Mercedes and we got down to teaching a 6 day course where the goal was to build a 12' turbine, a 10' turbine, and a 1 meter diameter turbine (the peanut). Last year for this workshop we had a very small garage space to work in, and a large tent. This year NorthWind (a local PV installer) let us have their way with their shop in Stevens point... so we had lots of nice work space. Pictured above George and Gary (from Canada) are cutting out 15 inch diameter magnet rotors.
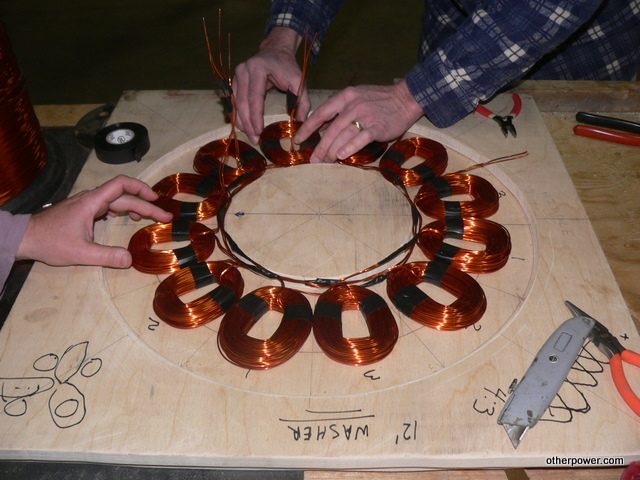
At the end of the 2nd day the stator for the 12 foot turbine was about finished and ready to cast. This is a 48V turbine, we wound the stator with two strands of AWG 15 wire in hand and 64 turns per coil.

Scotty leads blade carving during the whole work shop.

Above Katy and Gary are cutting out the 'vents' in the magnet rotors for the 12 foot turbine. The rotor is fixed to the table with a bolt, and stood up above the top of the table some distance so the slag doesn't interfere with smooth rotation. The cutting torch is fixed in a vice which is clamped to the table and the work is rotated.
There is a bit of a video of this here:
http://www.youtube.com/watch?v=l9pQQPR1Xwc
At the end of 3 days we had two stators ready to cast.

David and Katie tapping magnet rotors next to lots of other metal bits that are coming together.
Amos and John are roughing out the blade for the 1 meter 'peanut' wind turbine. 1 meter diameter, designed to run at TSR 7 and each side is layed out at 10 different stations. It's carved from a 2x4. (this machine so small it's hard to consider it much more than a toy, but I really do like it ... more to come on that soon).
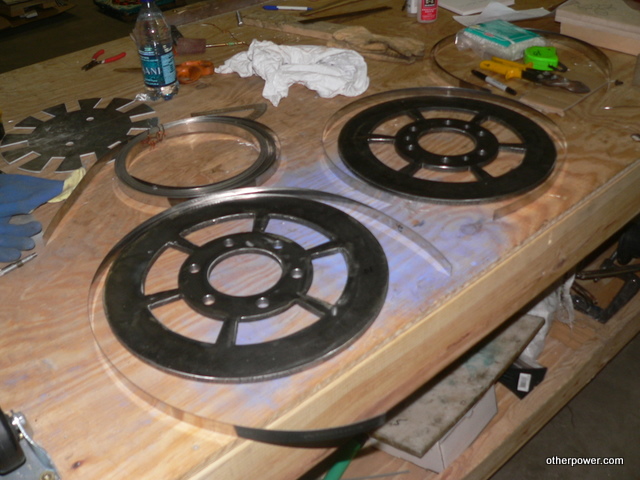
Pictured above are the 15 inch diameter rotors for the 12 foot machine... they look quite nice for being torch cut I think. At this point we've also cut the stainless steel bands that will surround them. Once you wrap torch cut rotors with stainless steel... they look about perfect.

Except for the tail boom, the metal work is finished for the 12' turbine.

Pictured above 1 magnet rotor for the 12 foot turbine is almost finished. They actually screwed up and had to take magnets off, put them back on about 3 times before they got it right (lots of practice). You always learn more when you learn the hard way. Again, the magnet rotors for this 12 foot turbine are 15 inches in diameter, each rotor has 16 magnets 2 inches in diameter and half an inch thick, NdFeB grade 42. Magnet prices are up... these cost abotu $20 each now so about $650 in magnets to build this turbine.
For the little 1 meter 'peanut' turbine, the magnet rotor is only 7 inches in diameter. It only has one rotor with 4 magnets, 1 inch x 2 inch x 1/2 inch thick (again, N42 grade NdFeB). I ordered these magnets with a 3/16 inch hole in the center and they're attached to the rotor with roll pins. The rotor has a 1.25 inch hole in the center. We use the same BT-8 spindle that we use for 10' turbines, but cut it off 2" short at the back and weld the rotor to that. What is supposed to be the stationary spindle for a trailer hub becomes the shaft, and the hub is stationary - and the spindle in inserted into the hub backwards (Because the inner and outer bearings are the same, we can do this). The Rotor is welded to the back of the hub. Pictured above they're fitting magnets to the rotor. One day soon here I'll draw this machine up because it's pretty fun stuff. This is the 2nd one we've made at a workshop and it's much better than the first one.
Pictured above: connecting the dots at the 10 stations along the little 1 meter blades. A springy ruler works well.... Most of the blades we make now, almost *all of the material* is removed from the front (or face) of the blade. After that, very little needs to be removed from the back side to create the airfoil. It seems easier and faster.
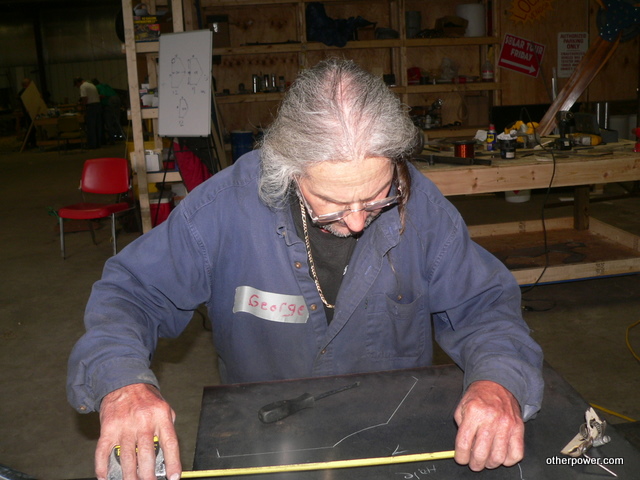
George is double checking the layout for the blade hubs. Layout for things like magnet rotors and steel blade hubs requires some degree of precision... and a specific order of events. It's not 'rocket science' but it's a good project for folks who've never done that stuff before.
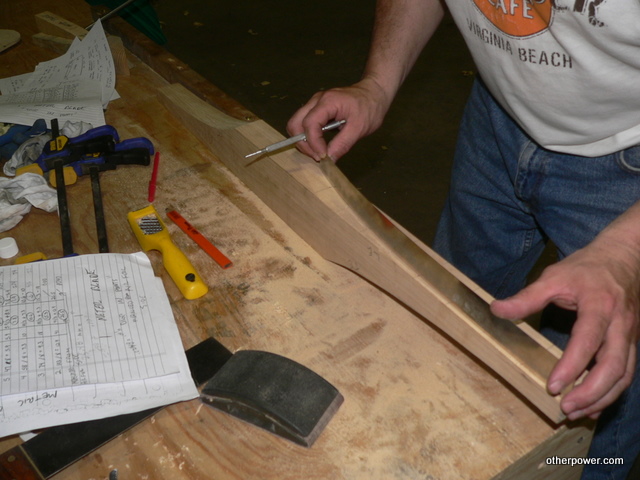
On the 5th day they had the 10 foot and the 12 foot blades finished. This time we just used 2x8 lumber to fabricate the 10 foot blades from and they came out fine.
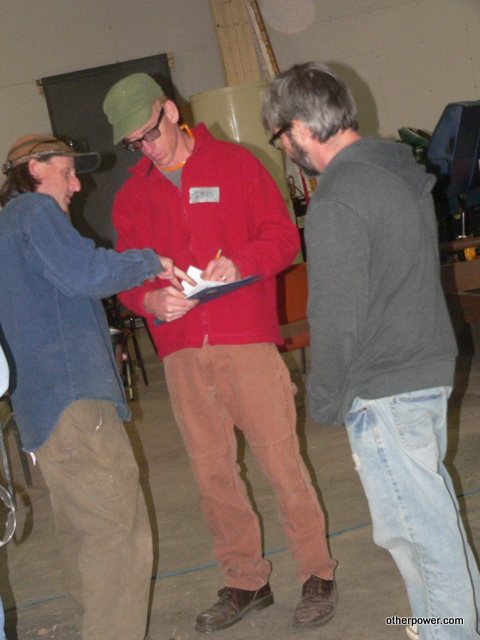
Above, Scott, Chris Folk, and Mike (he's the *man* that keeps everything at the MREA working well) trying to solve the words problems.

So the geometry of the the peanut is slightly disturbing with regard to magnet spacing and coil spacing. It's got a 7.25 inch diameter magnet rotor, 4 magnets on it, and 3 coils in the stator. Each coil (for 12 volts) is wound with 165 turns of AWG 16 wire, it's wired in Star (WYE). Cutin speed is about 600 rpm. We made an adapter so we could spin it with a drill and hooked it to an old scope to see just what the wave form looked like.

I expected more weirdness from this alternator but we seem to have a nice sine wave.

Above is pictured the alternator for the 12 foot machine finished and being tested. We hit 48 Volt cutin at 125 rpm as usual.

Blades for the 10 foot turbine are being assembled.

Pictured above they're assembling the 12 foot turbine on the last day.
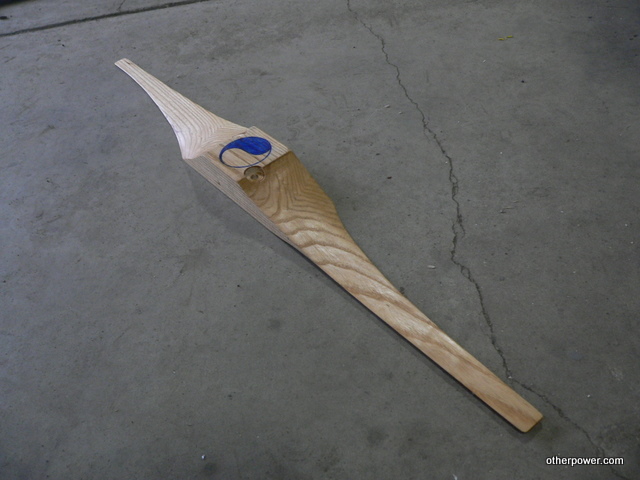
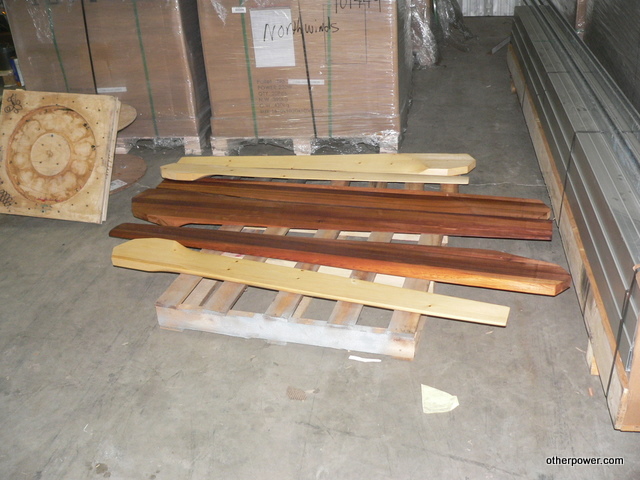
We actually got a few blades built for the little 1 meter machine... this is the one we decided to test, it's made from Ash.
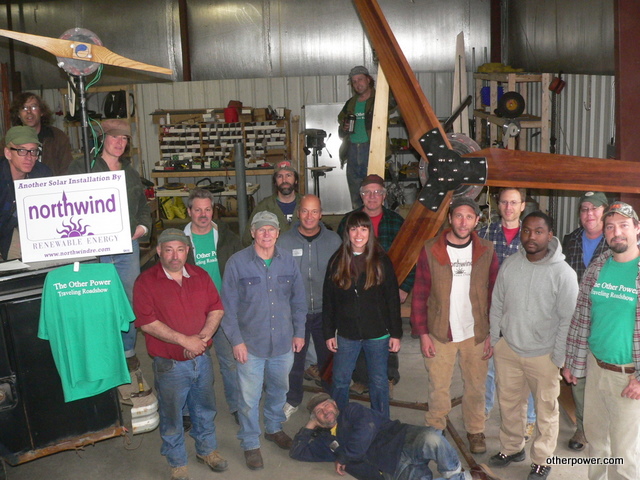
There is the full group with three finished wind turbines. Loads of fun and thanks to all who helped out and attended! Special thanks to the MREA and Northwind (if you need some solar installed in or near Wisconsin check these guys out:
http://northwindre.com/ (they're good friends and great people))

We took the group photo at 4pm on the last day, then we took the peanut wind turbine, stuck it on a short tower on the back of a truck and ran it down the road. I'll upload some video of that soon but.... we took it about 7 miles on back roads to Rustys backwater bar and grill just in time to show up for the awards cerimony for the lawnmower races that we'd just missed.... damned... riding lawnmowers that do over 80mph....
At any rate, the machine works reasonably well. At about 30 mph and 200 Watts output, it tips up (the force against the blades overcomes the weight of the alternator), at which point there is a combination of the force of gravity and magnets in repulsion (Behind the alternator) to control it. Basically it peaks at about 200 Watts (around 30mph) and tips back and limits itself to 180 Watts.... up to about 60 mph which is as fast as we went. Lots of fun....
Right after this workshop we taught a 3 day 'intro to tilt up towers' workshop where the class built a short 40' tilt up tower and erected the 10' turbine at the MREA facility. I'll post about that next.

